14 January 2026
Crochet christmas socks for beginners

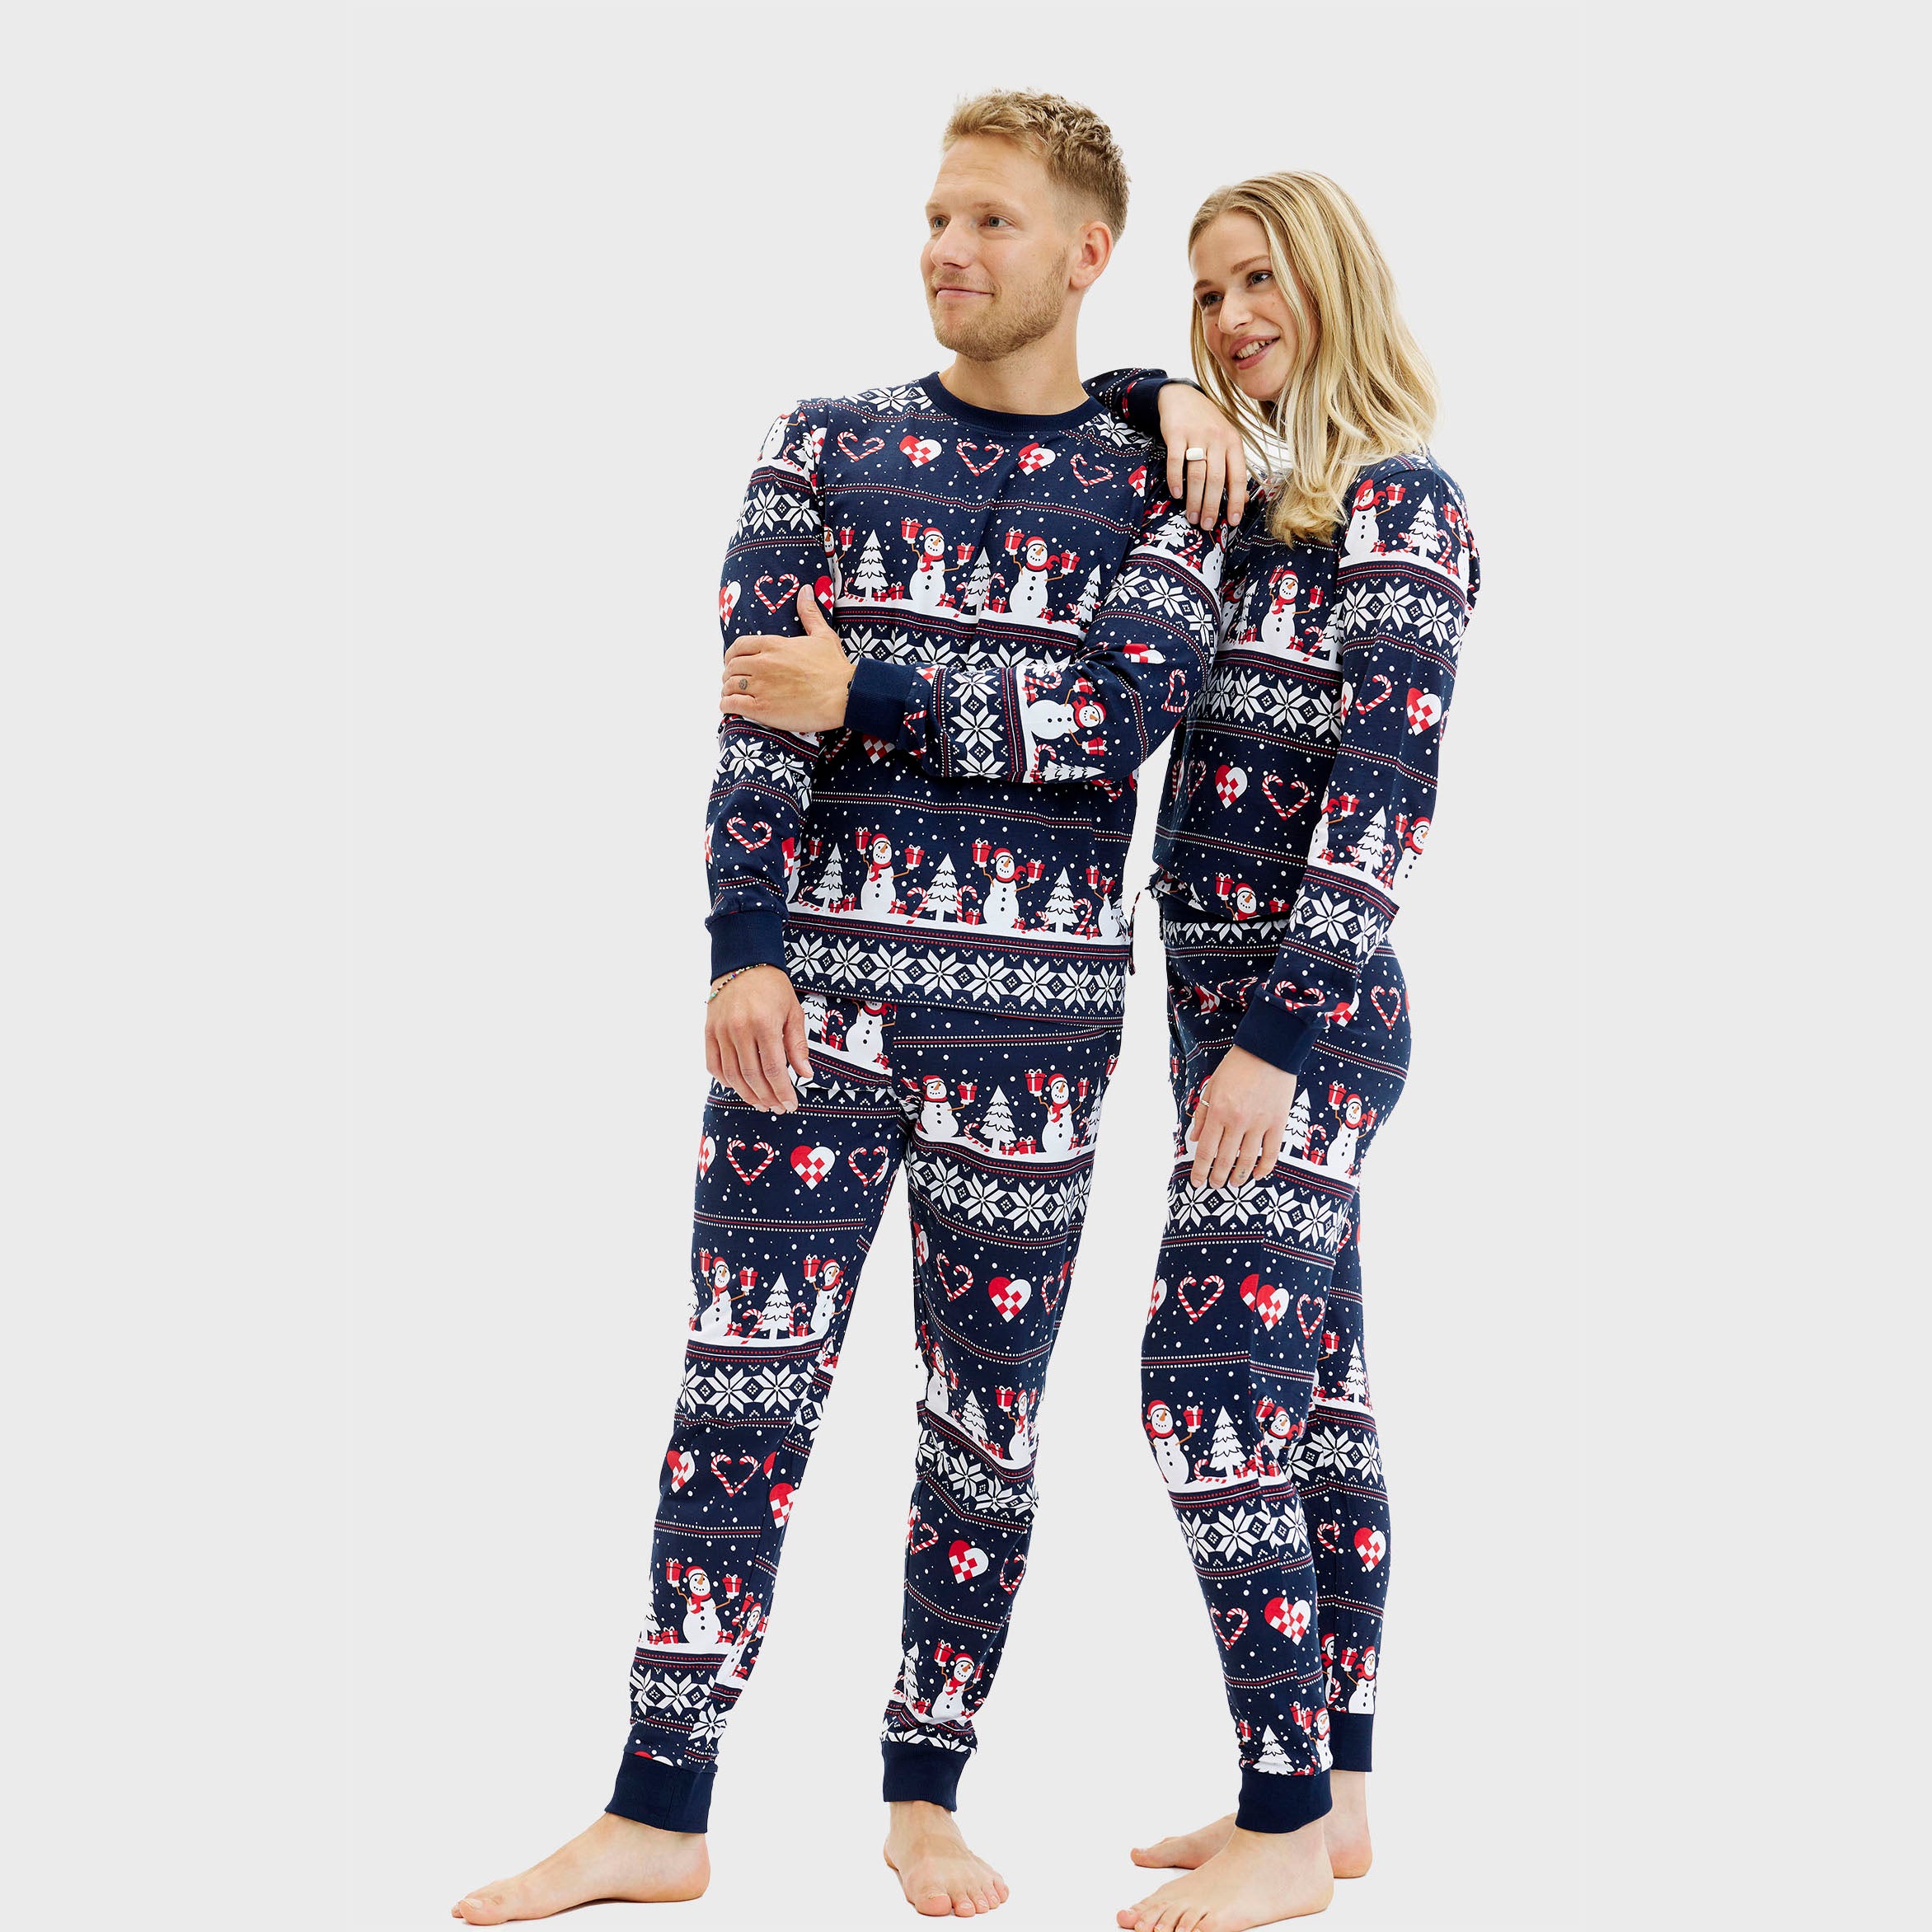
Crochet Christmas socks are an accessible, festive DIY project that beginners can pick up with a few basic stitches and modest time investment. You can make full-size decorative stockings for hanging on a mantel or smaller mini socks that double as tree ornaments or gift tags, and both formats are forgiving for first-time shaping and colour changes. They also make a fun counterpoint to an ugly Christmas sweater at family gatherings, pairing handmade stocking décor with ready-made festive outfits (ugly Christmas sweater).
Quick clarification of terminology
In this post crochet Christmas socks refers primarily to decorative Christmas stockings and smaller holiday socks or ornaments made by crocheting, rather than everyday wearable socks.
What you will find here
- Simple patterns and starting methods suited for beginners, with clear step sequences to follow.
- A practical look at typical dimensions you’ll see in popular patterns and a note that materials and yarn choices will be covered later in the post.
- Options for personalization such as stripes, nordic-inspired motifs and name panels so each stocking feels unique.
- A compact reference table summarising yarn weights, hook sizes and estimated yarn amounts for full-size stockings and mini ornaments.
These projects are also easy to coordinate with other festive items, so consider matching small stockings with complementary pieces from your holiday wardrobe or décor when you plan gifts or mantel displays—see ideas for broader seasonal looks (christmas apparel) and for simple sock-themed accents check the dedicated collection of christmas socks.
Typical dimensions and formats
Full-size decorative stockings commonly measure about 19–21 inches (48–53 cm) long and 6.5–10 inches (16.5–25 cm) wide when flattened. Mini stockings and ornament-size socks are much smaller, often started from a magic ring and completed after only a few rounds of double crochet or half double crochet. When choosing a target size, decide whether the piece will hang on a mantel, sit beside a gift, or dangle from a tree, since purpose affects how much structure and bulk you want.
Common construction approaches
Beginner-friendly patterns tend to favour two main starts. Toe-first construction begins with a magic ring and works increasing rounds until the foot width is reached, then forms a heel opening before continuing the leg. Cuff-first or chain-start construction begins with a foundation chain or small ring and works down toward a shaped toe. Heel shaping varies across patterns: some use simple decreases or short rows, while others add a gusset and heel flap for a more defined fit.
Stitches and techniques to learn
Learn these basics first to handle most patterns:
- Single crochet (SC), half double crochet (HDC) and double crochet (DC).
- Increases and decreases to shape toes and heels.
- Magic ring start for toe-first and ornament-sized stockings.
- Working in continuous rounds versus joined rounds to avoid visible seams.
- Simple colour changes and striping, plus surface slip-stitch or post stitches for texture.
Yarn choices and how they affect the result
Common yarn weights for decorative stockings are DK (light worsted) and worsted (aran). DK gives a lighter drape and clearer stitch definition, while worsted yields a sturdier, more solid stocking. Acrylic blends are popular for easy care, and wool or wool blends provide traditional texture. Tweed or gradient yarns add visual interest without complicated colourwork.
Hook sizes and gauge guidance
Typical hook-size pairings are: 4.0–4.5 mm for DK/light-worsted and 5.0–6.0 mm for worsted/aran. Gauge matters because stitch density changes the finished length and width: a tighter gauge produces a smaller, firmer stocking and a looser gauge gives a softer, larger result. Note: Always check gauge on a small swatch to refine hook choice before starting.
Estimated materials for a full-size stocking
Material needs vary by yarn and stitch pattern, but a practical rule of thumb is one to two medium skeins for a full-size stocking. Dense textured stitches use more yarn than simple rounds. For mini ornaments plan on small amounts from leftovers or a single small skein.
Color, texture and personalization
Easy ways to personalise include stripes, a contrasting cuff, an appliqued initial or a pom-pom at the toe. Ombre or gradient yarns produce effortless colour shifts; simple nordic-inspired motif rows or surface embroidery create name panels without complex intarsia. Consider adding a hanging loop on the cuff so the stocking is display-ready.
Reference guide for common choices
- Mini ornament: Yarn weight: Fingering to DK. Typical hook: 3.5–4.0 mm. Gauge example: 20 sc = 4 in. Estimated yarn: 10–25 g. Notes: Quick project, ideal for scraps.
- DK/light-worsted full stocking: Yarn weight: DK. Typical hook: 4.0–4.5 mm. Gauge example: 16–18 hdc = 4 in. Estimated yarn: 150–200 g. Notes: Balanced drape and definition.
- Worsted/aran full stocking: Yarn weight: Worsted. Typical hook: 5.0–6.0 mm. Gauge example: 12–14 dc = 4 in. Estimated yarn: 200–300 g. Notes: Sturdier and warmer appearance.
For ideas on coordinating handmade stockings with other festive items, consider pairing colours with pieces from our christmas apparel collection or using matching accents found among christmas socks to create a cohesive look for gifts and displays.
Simple step outline for crochet christmas socks
There is something quietly joyful about sitting by the window with a ball of yarn, the scent of pine and baking in the air, and a playlist of carols soft in the background while you work. Below is a high-level, pattern-agnostic sequence that will guide a beginner from first stitch to a finished decorative stocking or small ornament, with sensory touches to keep the process cosy.
Step 1: Choose yarn and hook
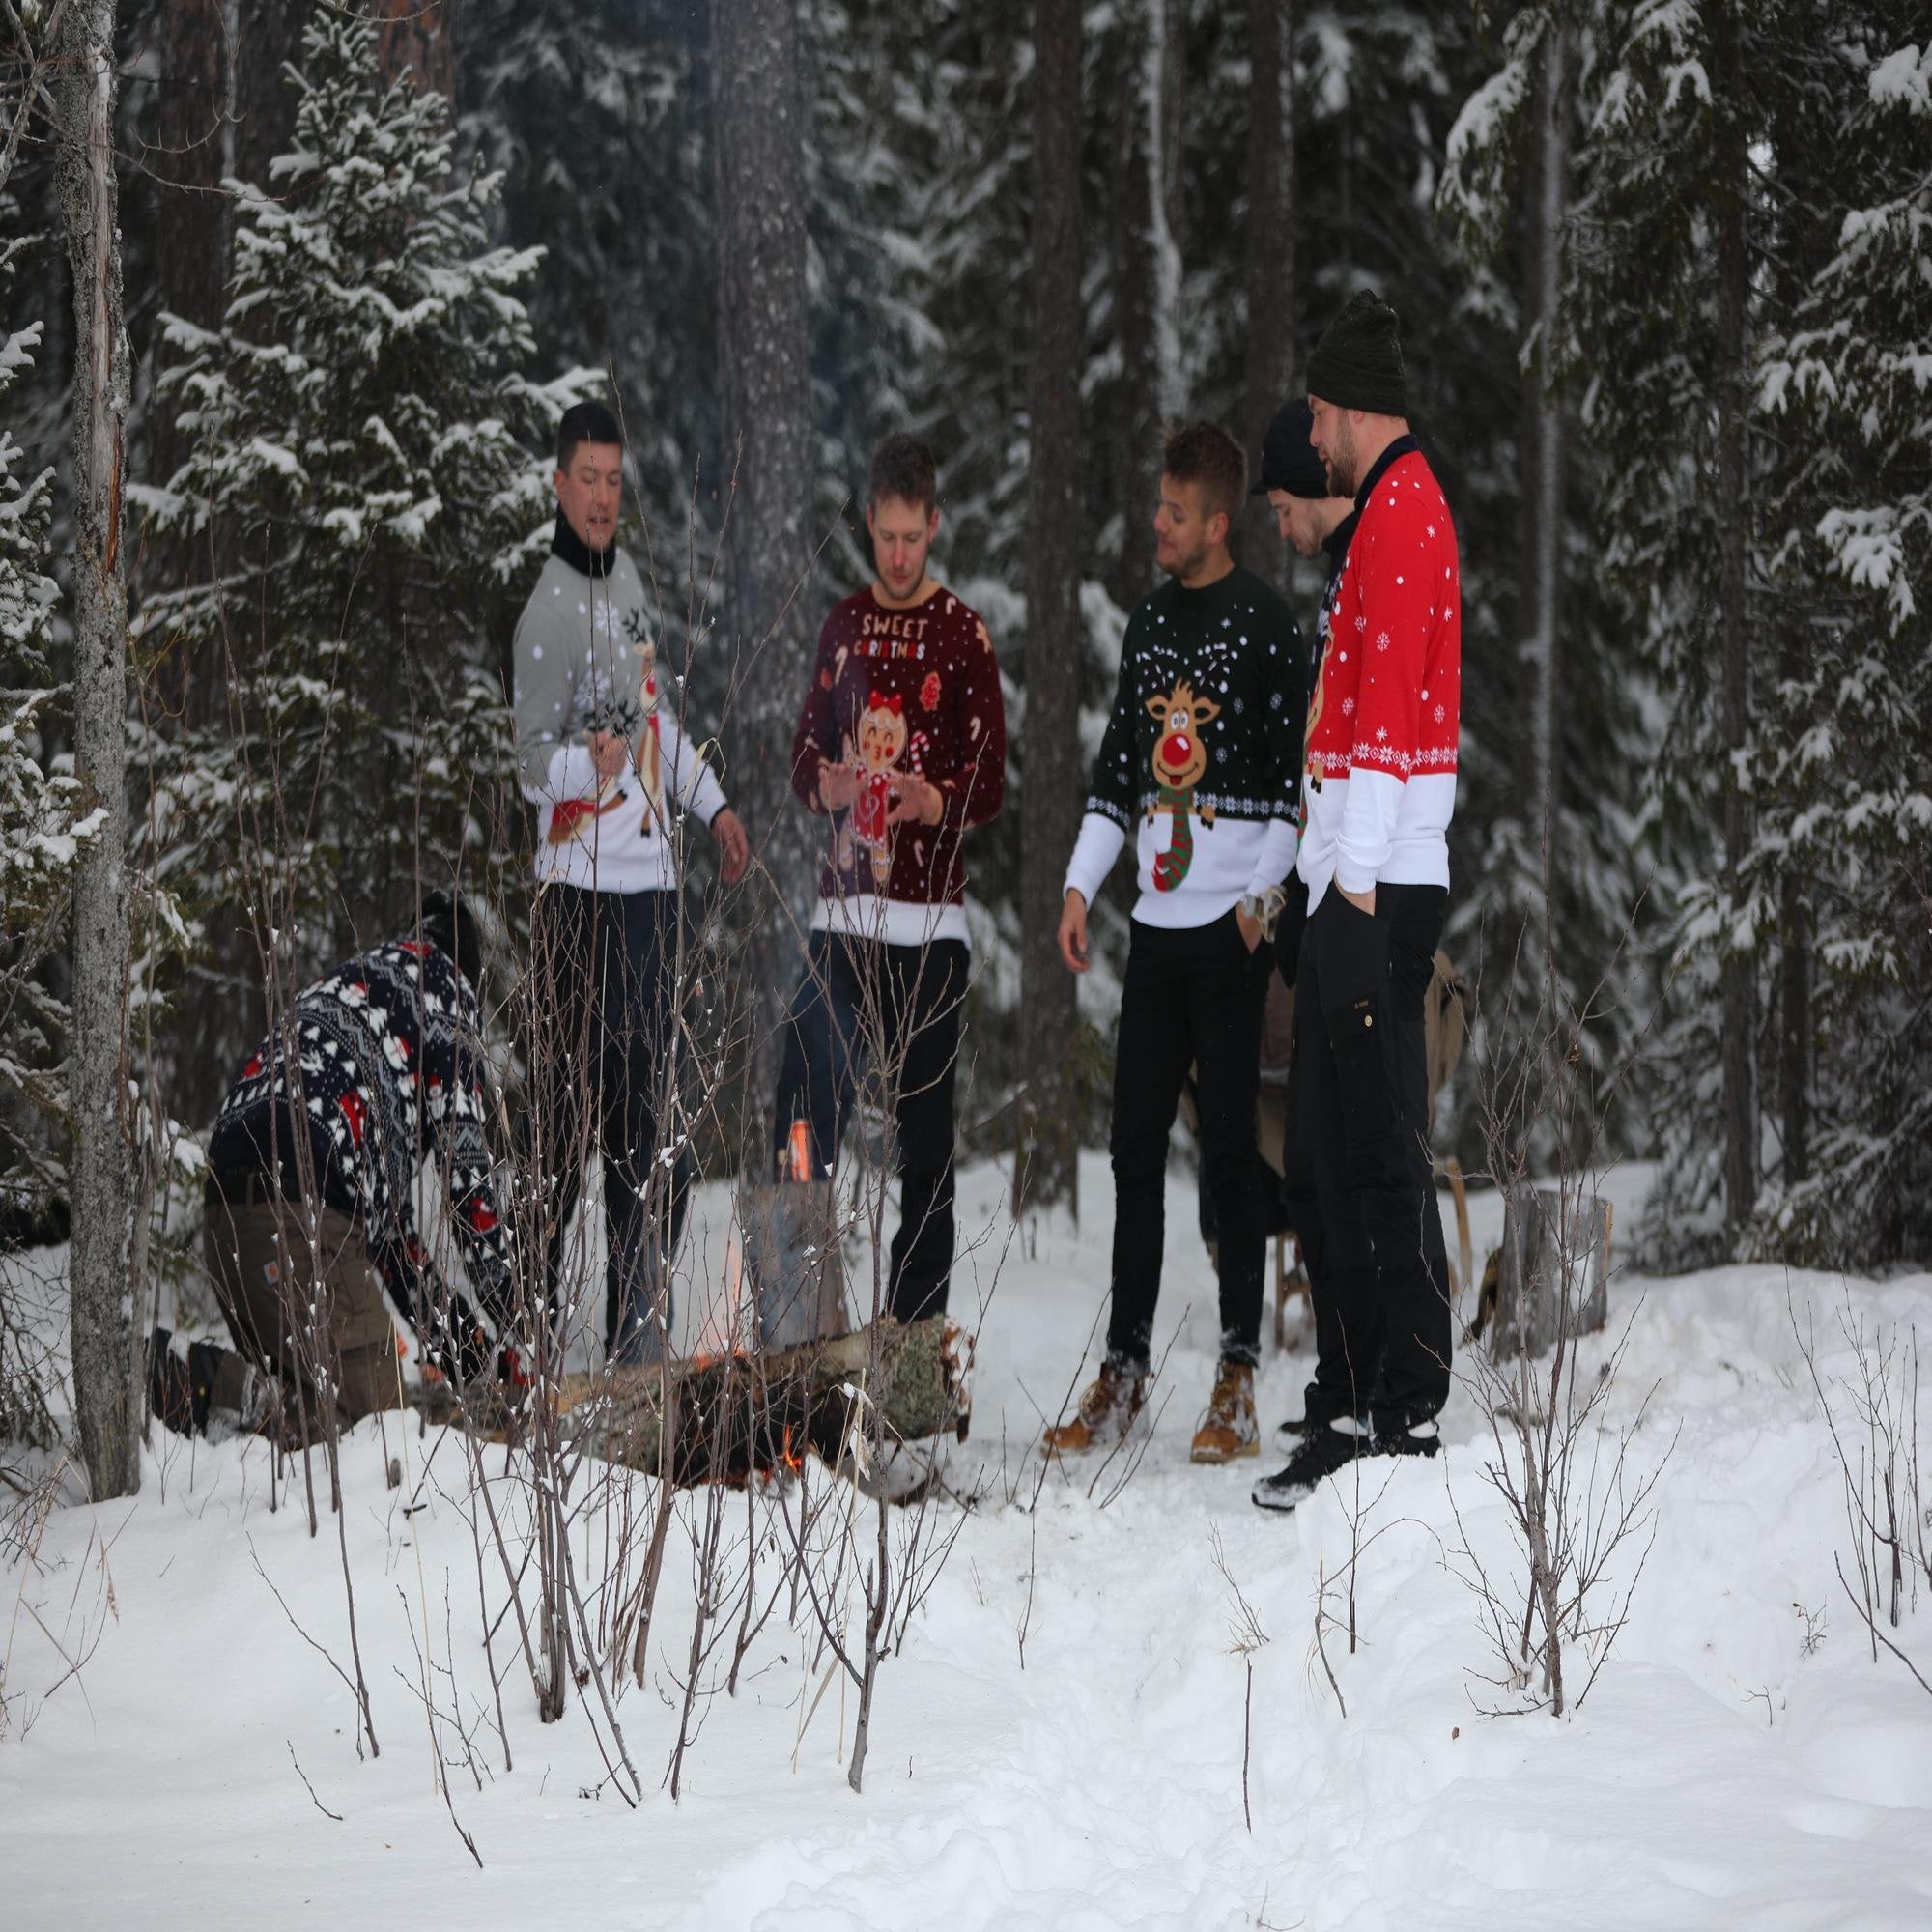
Choose a yarn weight and hook size suited to your intended size. Step 1: Choose yarn weight and hook; check gauge on a small swatch and feel the fabric. A worsted yarn with a 5.0 mm hook gives a sturdy, warm stocking. A DK yarn with a 4.0 mm hook yields a lighter drape. Wear a comfortable christmas sweater or slip into christmas pajamas to keep your hands warm as you work.
Step 2: Decide your starting method
Step 2: Decide starting method: For a toe-first stocking use a magic ring start so the toe rounds increase evenly. For a cuff-first stocking choose a foundation chain or small ring and work downward toward the toe. Imagine the soft give of the yarn as you shape each curve.
Step 3: Shape the toe and foot
Step 3: Establish toe shaping: Work increases in rounds until the desired foot width is reached. Step 4: Work the foot section in rounds to the required length. Keep stitch counts consistent and listen to the gentle click or whisper of your hook against the yarn.
Step 4: Form the heel
Step 5: Shape the heel: Create the heel opening with short rows, a heel flap and gusset, or decreases depending on the method you chose. Try the piece on a flat surface to test proportions and adjust the depth so the heel looks balanced with the foot.
Step 5: Finish the leg and cuff
Step 6: Continue the leg section and create a cuff. Ribbed cuffs give stretch and texture while simple rounds keep a clean profile. Add a hanging loop at the cuff so the stocking is ready to display by the mantel or on a hook beside the tree.
Step 6: Personalise and scale
Step 7: Add personalised details: stripes, appliqués, embroidered initials, tassels or pom-poms bring personality. Variation note: Convert a full stocking to a mini ornament by reducing increase rounds, shortening the foot and using a finer yarn and smaller hook.
Suggested media and visual aids
Include close-up photos for the toe, heel and cuff stages and a short how-to video with time markers for each step. A short clip showing colour changes and a pom-pom finish will make the instructions accessible and comforting.
Troubleshooting common beginner issues
- Uneven rounds or visible joins: Work continuous rounds and mark the start of each round to keep counts steady.
- Stocking too narrow or wide: Add or remove increase rounds at the toe or adjust foundation chain width for cuff-first starts.
- Heel fit problems: Alter gusset stitches or short-row depth to open or close the heel opening slightly.
Frequently asked questions
Are crochet christmas socks the same as Christmas stockings?
In crochet contexts the terms are often used interchangeably. Stocking usually refers to the larger decorative hanging item while sock can mean a wearable sock or a small ornament. This post focuses on decorative stockings and small ornamental socks.
What size should a standard crochet Christmas stocking be?
Common decorative stocking sizes are roughly 19–21 inches (48–53 cm) long and 6.5–10 inches (16.5–25 cm) wide when flattened. Mini ornament stockings are much smaller and made with fewer rounds.
Which starting method is easiest for beginners?
Both magic-ring toe-first and cuff-first chain-starts are beginner-friendly. Many find the magic ring intuitive because increases shape the toe gradually, while others prefer chain-starts if they are used to working from a foundation chain.
What stitches should a beginner learn first?
Learn single crochet, half double crochet and double crochet, plus basic increases, decreases and the magic ring technique to handle most patterns.
How much yarn do I need for one full-size stocking?
Expect one to two medium skeins depending on yarn weight and stitch density. Dense textures use more yarn than simple rounds, so check your gauge and pattern estimates before buying.
Can I personalise a crocheted stocking with names or motifs?
Yes. Simple stripes, surface embroidery, appliqué letters or motif rows are all effective ways to add a personal touch without complex colourwork.
Also view
15 January 2026
Picture a small family movie night by the tree: soft lights, low conversation and a stack of options for christmas movie recommendatio...